Not all of us can get that perfect shot from the first try. Sometimes it takes hours, sometimes you have to chase it for years. Let’s be realistic, with the exception of professional and aspiring photographers, nobody has time for that. Good news is that it can be easily fixed. There are plenty of free apps out there that will help you materialise all the creative ideas you have. If you are bored in the house and you are in the house bored, now is the time to go through your visual archives and have fun!
Just a heads up, the links below will take you to Apple Apps Store. I believe most of the applications are also available for Android devices.

VSCO: Photo & Video Editor
VSCO has been on my phone since the beginning of time. In social media terms that would translate to ‘since 2011 or 2012’, I honestly cannot remember. Although the most basic editing tools and filters are free, for 3 or 4 years I paid subscription which gives you access to a lot of additional functions, all filters and video editing section. It is definitely worth it unless you have found that single perfect filter you like to use on all of your photos. As soon as I did, I simply paid for the filter and stopped my subscription.
Before
After


Square Fit Photo Video Editor
This one is free and super simple to use. I mostly use it if I need to add a white canvas to a video. It can also work with images and includes basic editing tools such as crop, filters etc.
Unfold – Story Templates
Who has not heard of Unfold? That is the app a lot of bloggers, influencers etc use to create aesthetically pleasing stories. Some templates are free, some you have to purchase for £2-3. I do not use this app that much anymore but it allows to create stories with both images and videos, add text, stickers, change background colour etc.
Enlight Pixaloop
Another free gem that also offers paid tools. Have you ever seen a still photo with moving clouds or falling water? This is the app people use to achieve that. Friendly warning, prepare to spend some time drawing movement arrows and carefully colouring ‘freeze’ frame if you want high quality and believable effect.
Before
After


Snapseed
Snapseed is free and includes A LOT of different editing tools. Shame on me but the only one I use is ‘-10’ saturation brush. It is great for when you want to create a colourful photo but need to get rid of some annoying yellow or blue-ish background hues.
Before
After
Slow Shutter Cam
If I remember correctly Slow Shutter costs a couple of pounds. Is it worth it? Depends on the camera you have. If it’s not that great it might not work. This app allows you to control exposure, shutter speed and achieve ‘light trails’ effect. Yes, those night traffic lights scenes professional photographers take from highway bridges. Or those soft shots of waves washing over the rocks! The only thing I would say is that for it to work your camera phone needs to be very still.

Huji Cam
Another quite well-known app, you can see more examples here. It turns your photos into something disposable camera-like. Think bright colours, light leaks, saturated shades. The free version allows you to take photos and basically edits them for you but if you want to use an old shot you will need to pay.
Before
After

PicsArt
Have you ever heard of PicsArt? This is another app I had since the beginning of time but I do not believe it is that well known. PicsArt used to be free, now you have to pay for some of the functions but free version still gives you a decent selection of tools. I think you can do almost everything with PicsArt. My favourite part is being able to manipulate one specific colour and that after you apply a setting PicsArt allows you to select areas (paintbrush/eraser style) which to edit. Very useful if you, for example, need to darken the background while not changing anything on a person/item.
Before
After


Moldiv
Another app which gives free access to a bunch of editing tools. I only use it for one purpose – adding subtitle-like text to photos. Moldiv offers a bunch of high-quality looking fonts, allows to edit style, change colours etc.
Before
After
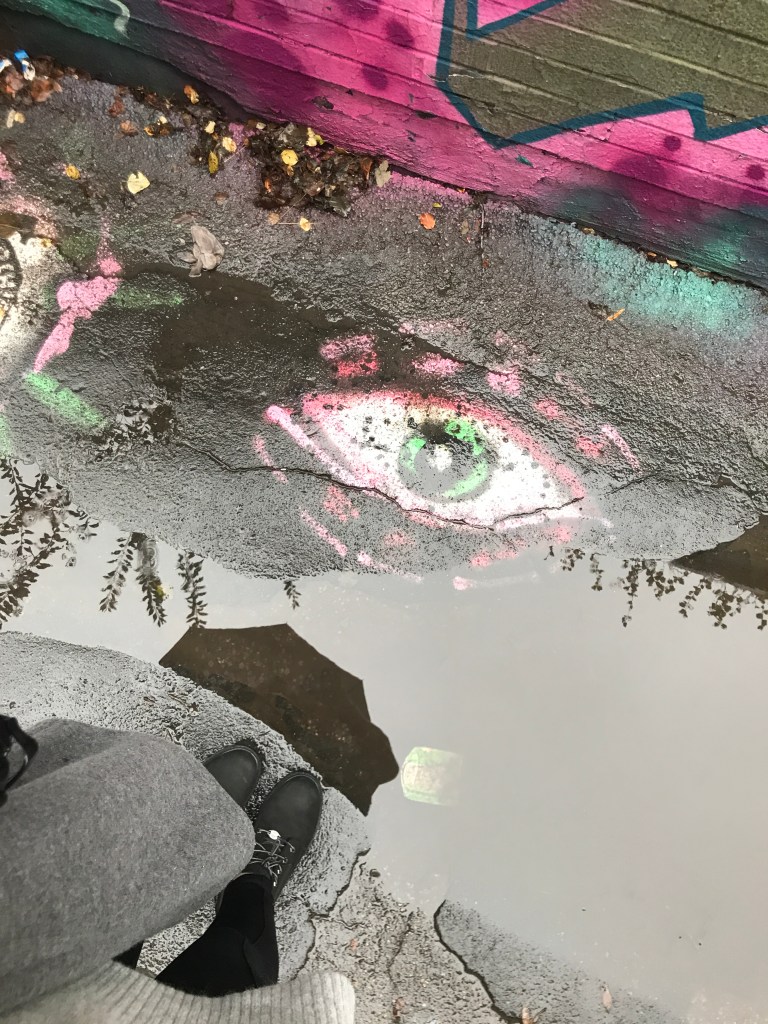
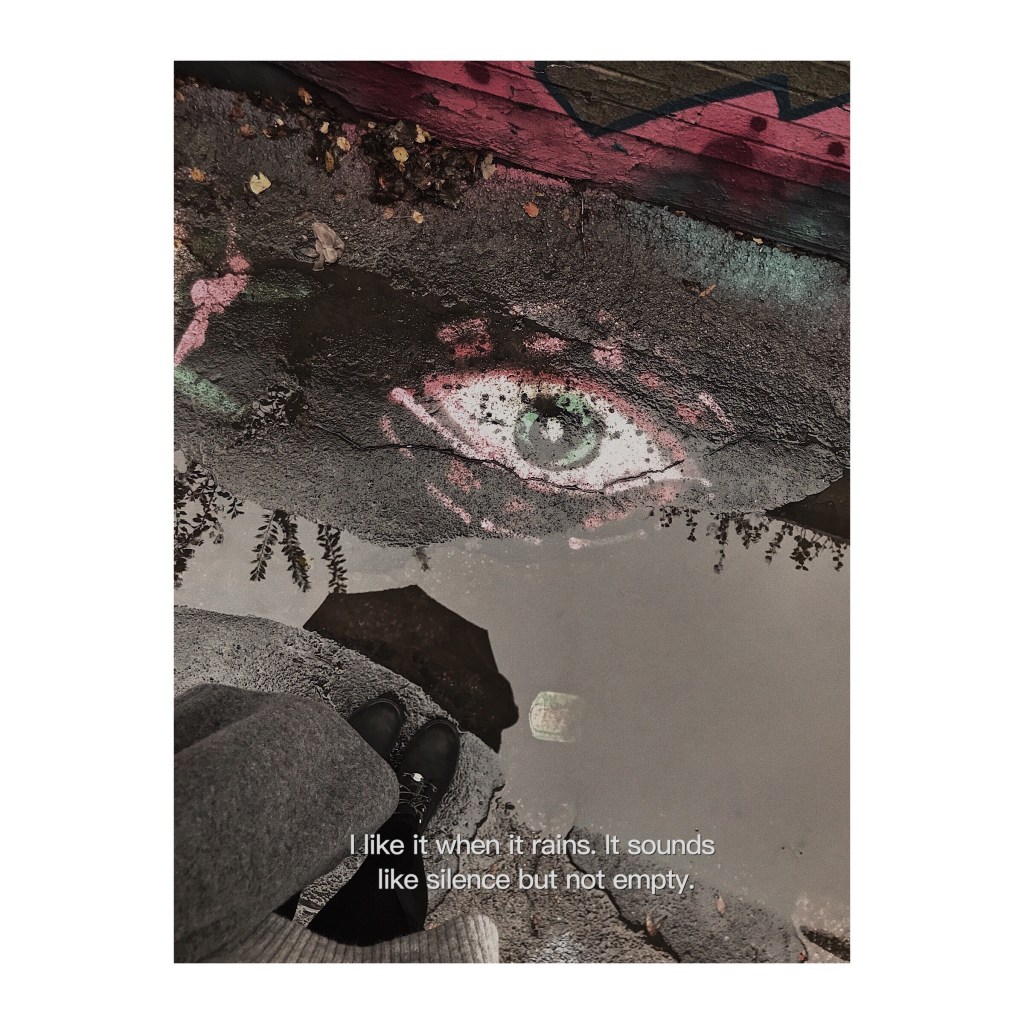
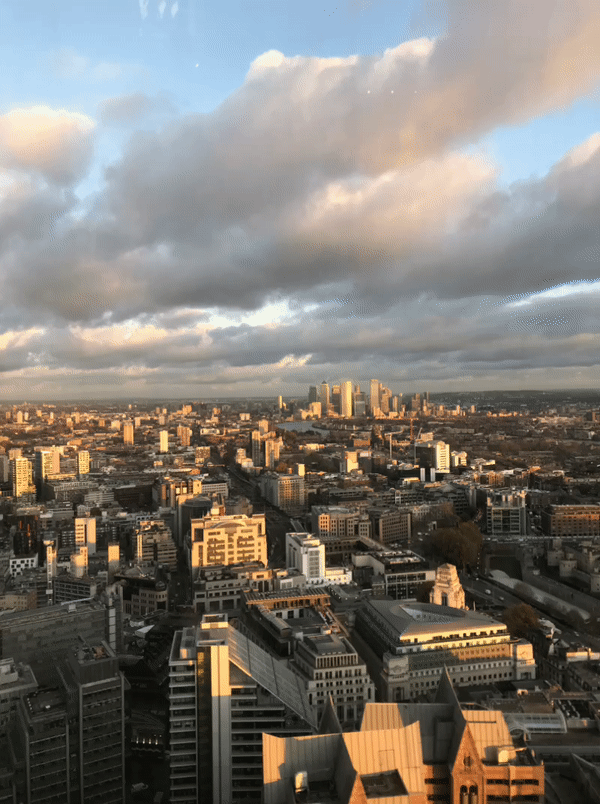
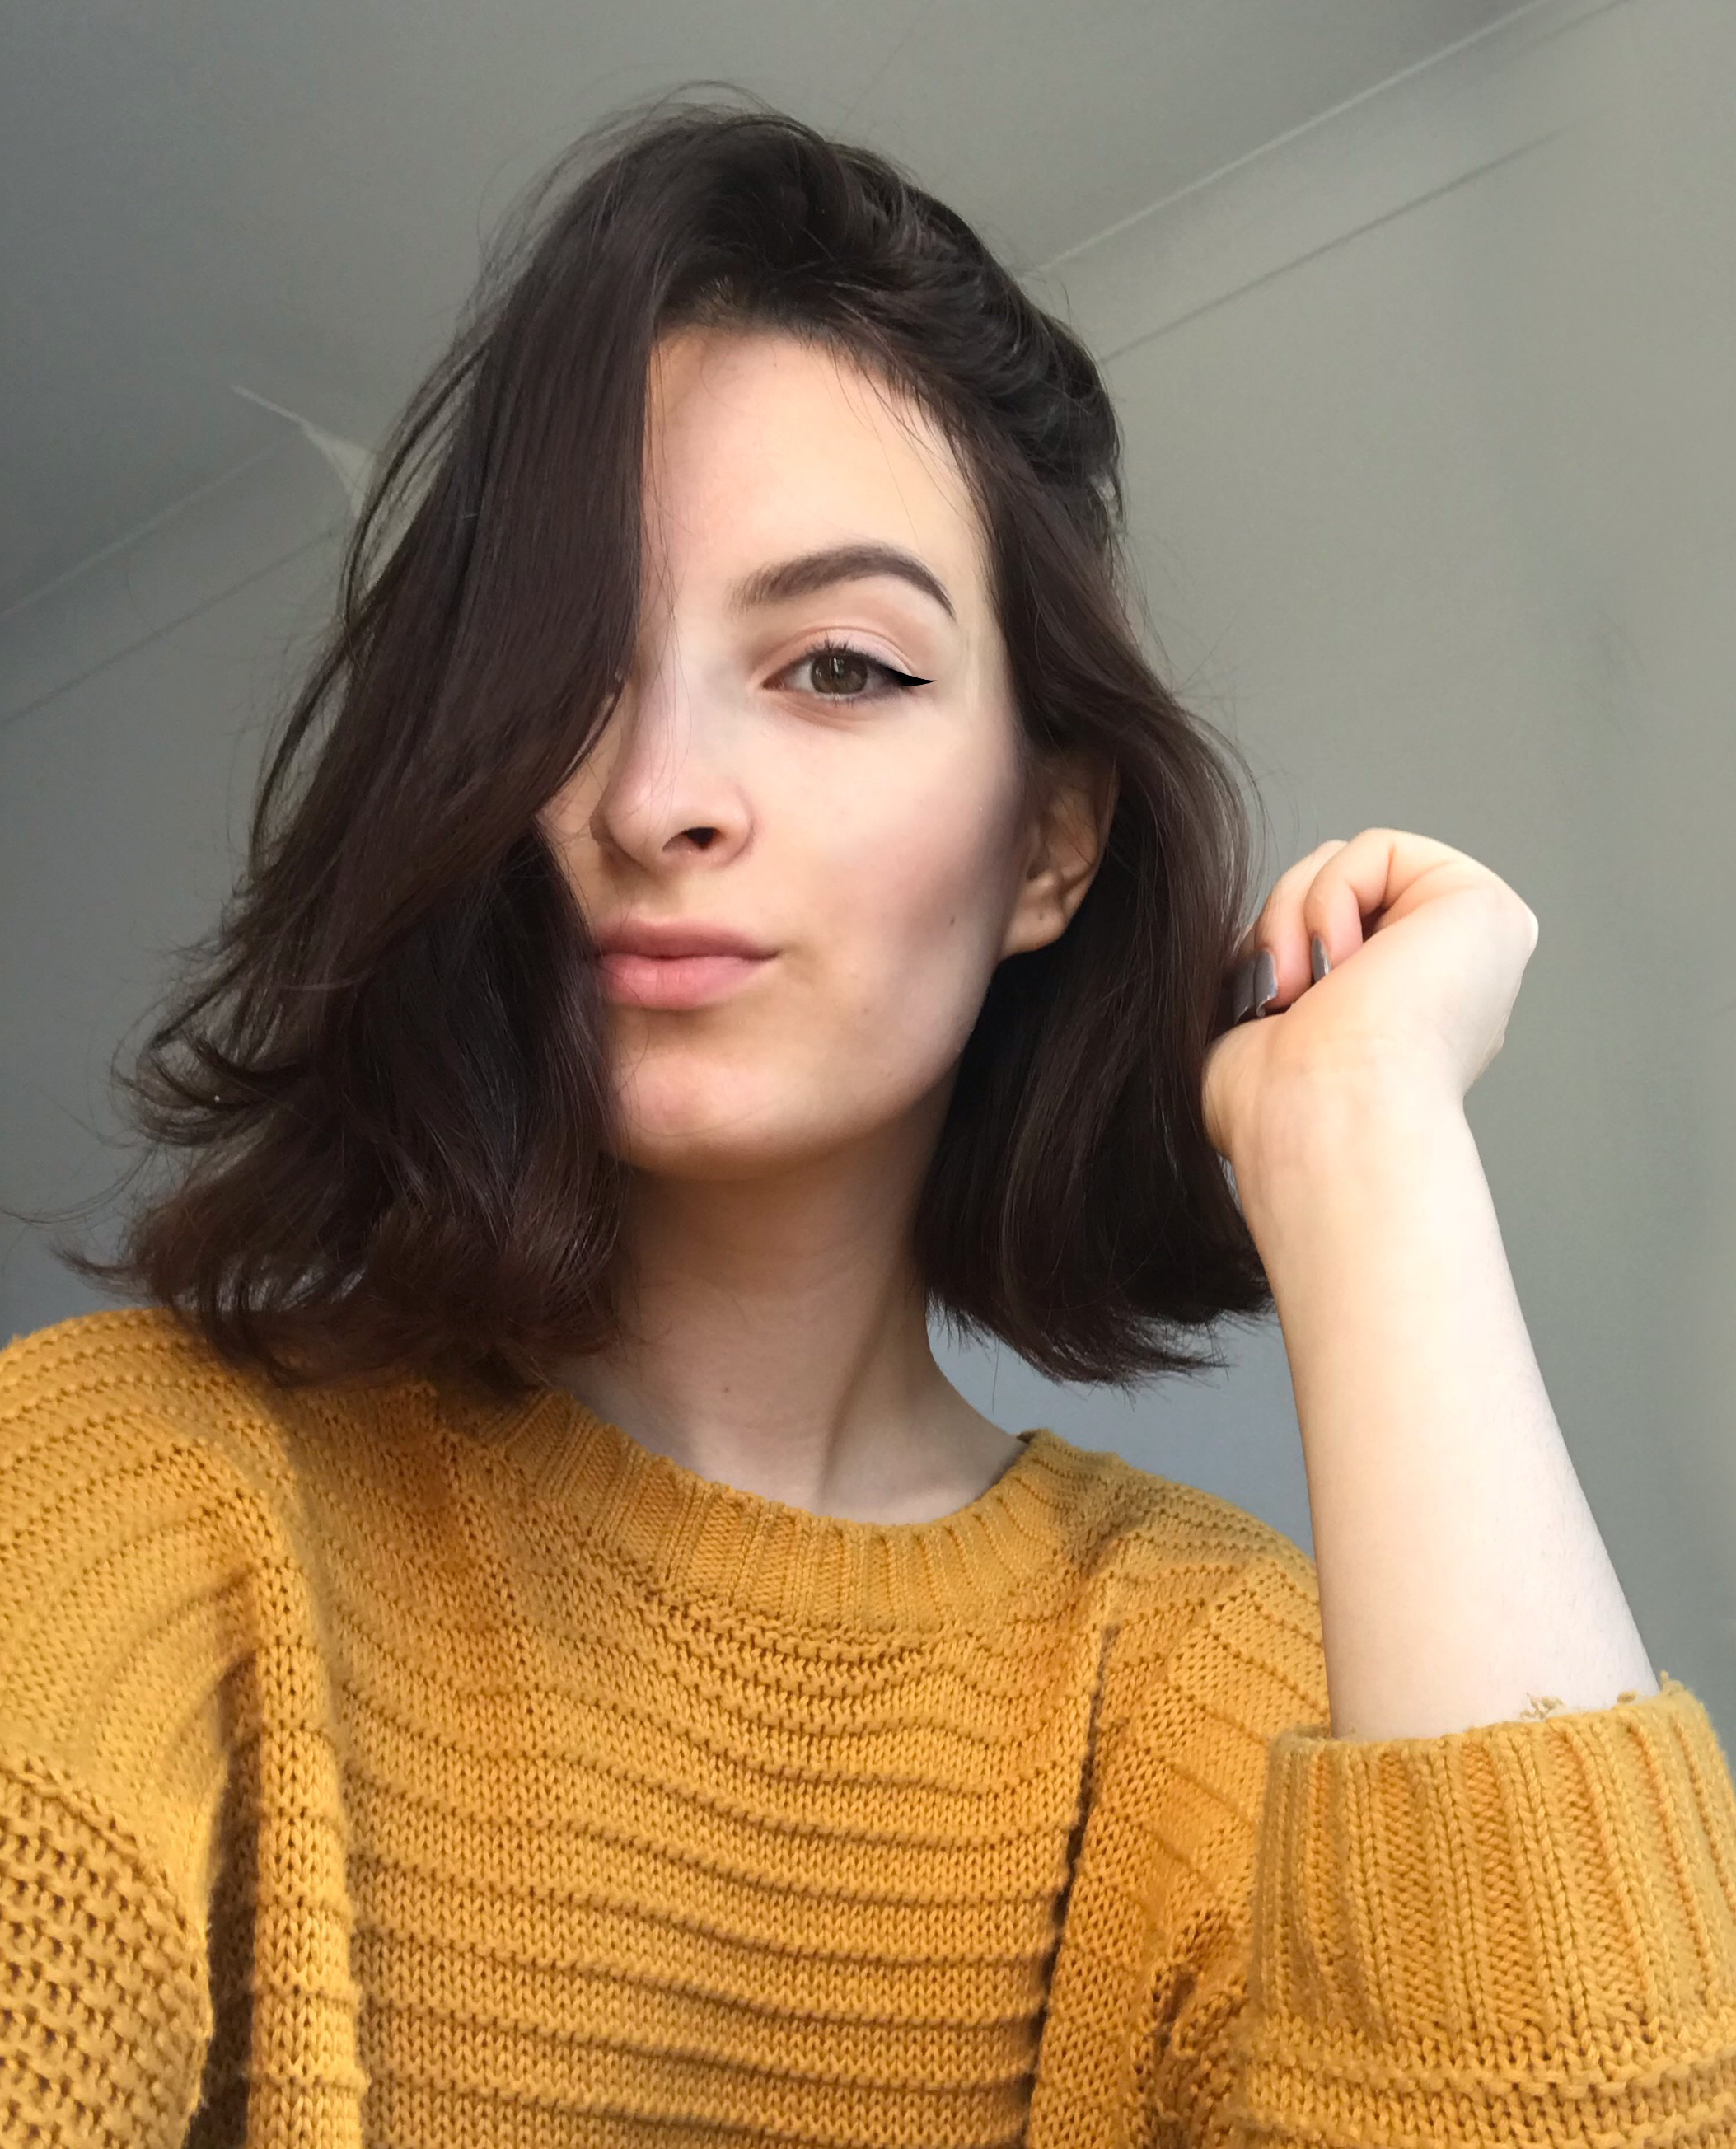
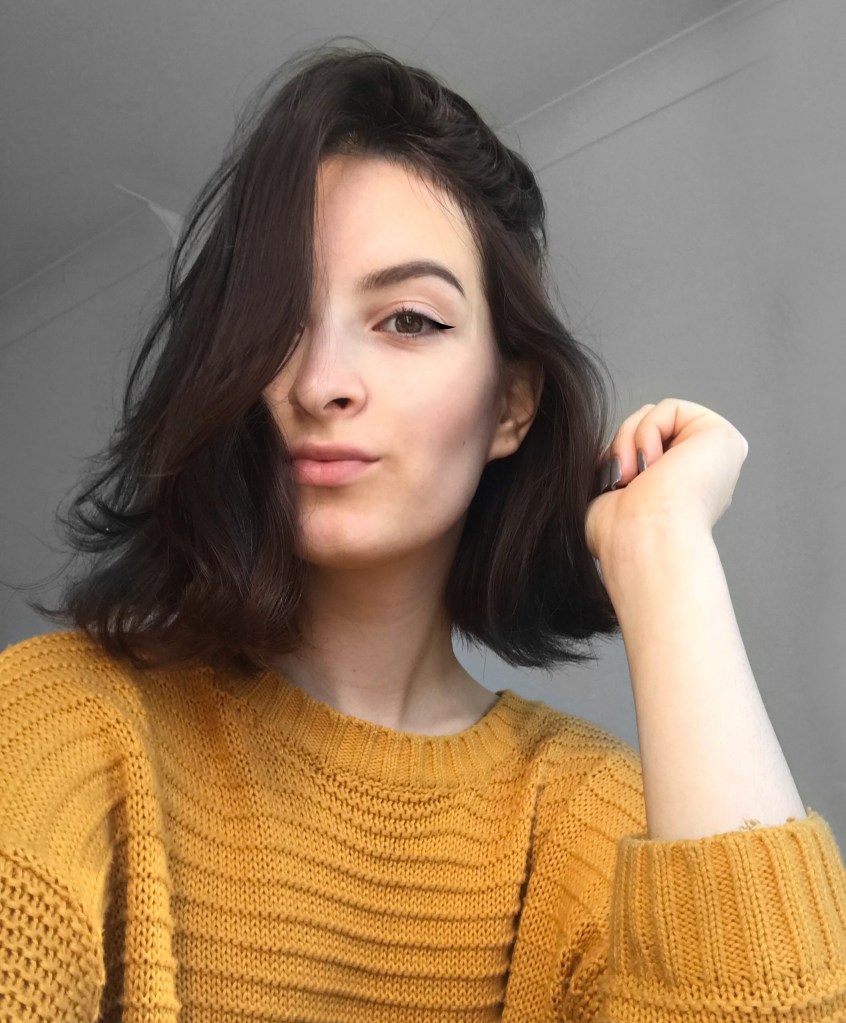
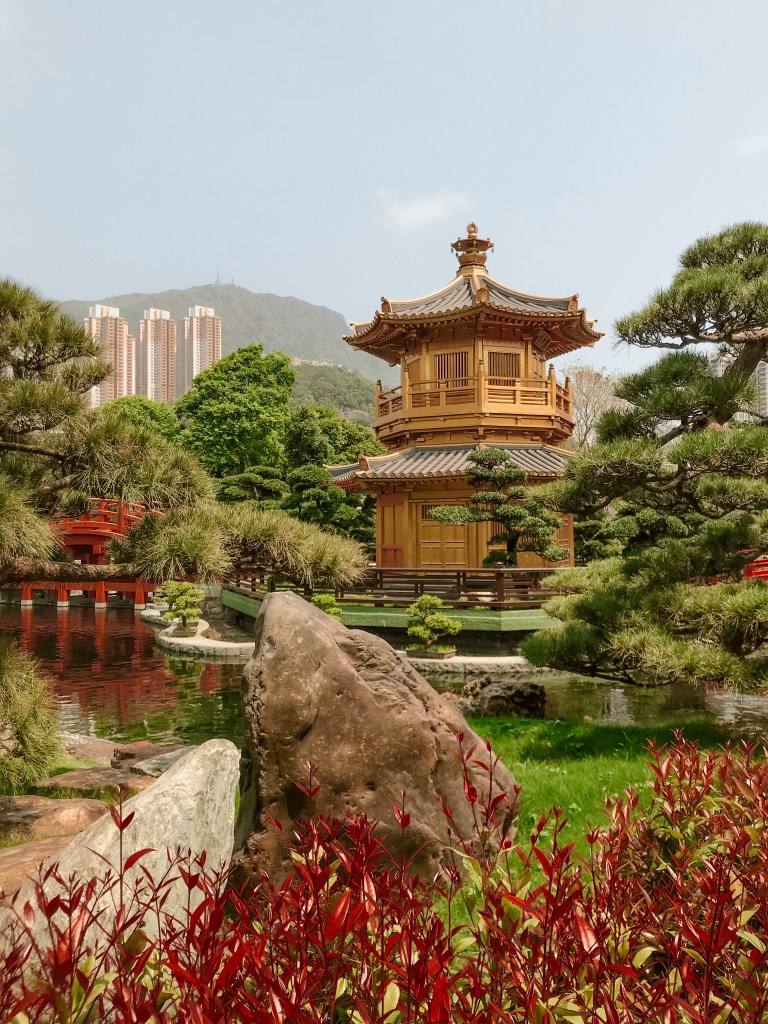
Adobe Lightroom
If you know how to properly use Adobe Lightroom I salute you. When you see creators sharing vibrant or pastel photos with identical editing style it is highly likely that they use Adobe Lightroom. You can even purchase said filters from some creators. I think the main reason so many professional photographers are also using Adobe Lightroom is that once you get your setting rights you easily apply them to a bunch of photos which saves a lot of time and works like magic. Lightroom’s ‘geometry’ tool is the best (see cover photo) but it’s not available in free version.
Before
After


P.S. This post has been sitting in my drafts for as long as I can remember. What was originally intended to be an easy to follow photo editing tutorial turned out to be a real headache. One of the reasons was that my editing style changes all the time and by the time I had something written all that was left to do was to start all over again. Perhaps more importantly, I think what and how much editing needs to be done heavily depends from the photo you have. This is why I decided to make a list of the apps I find useful instead. I hope this will enable you to find what works for your unique style!
